How to Clean Beauty Blender In Just 3 Easy Steps
How to clean beauty blender is an iconic question every makeup enthusiast worry about.
As a makeup hobbyist, I bet you have never cleaned your makeup sponges. Well, if you have been using them for 3 months or more, then it is time to clean them.
Everyday makeup sponges can get clogged with sebum and dirt that will affect the application of your makeup. In addition, these buildups are breeding grounds for bacteria, and this will not only cause skin problems but can potentially endanger your health.
What is a beauty blender?
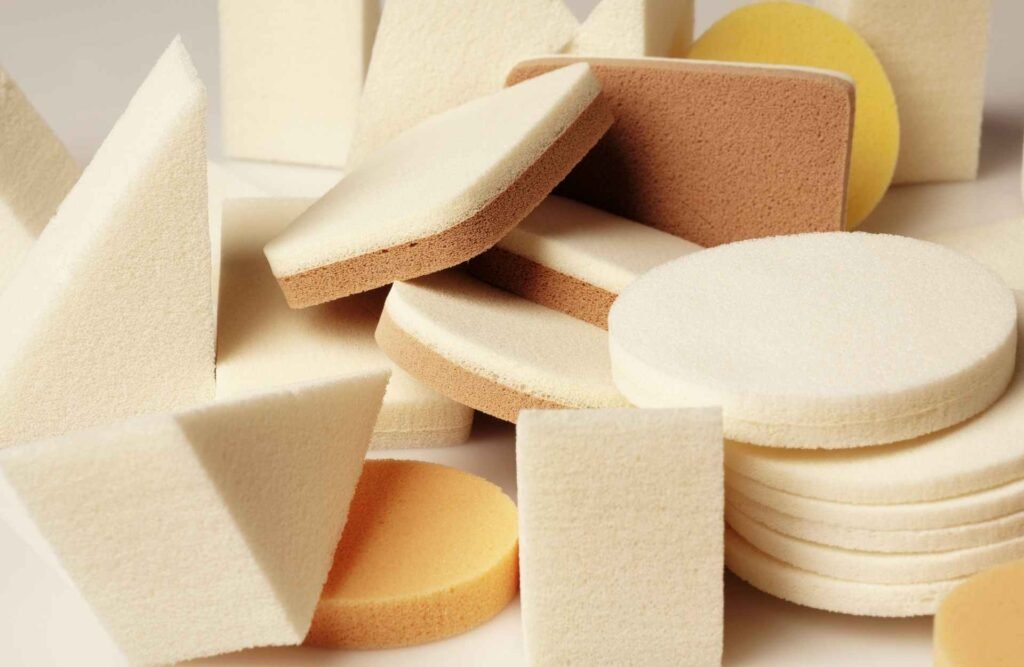
A beauty blender is the ultimate makeup tool that models have used, celebrities, makeup artists and makeup enthusiasts for years. It is like a multifunctional sponge that you can apply any liquid or cream product to your face.
What makes it amazing? Its flexibility, its ability to expand, its poreless surface, and lastly, its ability to blend makeup seamlessly.
This tool is vital when applying liquid or cream foundation, BB/CC creams, and you can also use it to apply powdered products such as blushes and bronzers by wetting the sponge.
How often should I clean my beauty blender?
You should clean your beauty blender every day or every other day. If you are using it on clients, then daily cleaning is a must.
How to clean your filthy beauty blender?
You can wash your sponge by following the method below:
Step 1: Make a Soapy Water Solution Add some dish soap directly to hot water in a container big enough to accommodate your sponge. Mix until the bubbles begin to foam.
Step 2: Soak your beauty blender in this soapy water for about 5-10 minutes.
Step 3: Rinse with cold water and squeeze out excess water with a towel or paper towel.
How do you disinfect a beauty blender?
You can disinfect your beauty blender by following these steps:
Step 1: Make a disinfectant solution Mix 1 teaspoon of baking soda and 1 teaspoon of Vinegar. When the mixture starts buzzing, add 1/4 cup of water.
Step 2: Soak your beauty blender in this mixture for about 5-10 minutes.
Step 3: Rinse with cool water and squeeze dry.
How to clean beauty blender in a microwave?
If you’re tired of scrubbing and soaking your sponges, I’d like to show you the microwave approach. It just takes a few seconds in the microwave to sterilize your makeup sponge.
“Microwaving the sponge in soapy water is essentially the same as putting it in your washing machine, which uses hot water and soap to cleanse fabrics,” according to dermatologist Joshua Zeichner, MD. “The microwave radiation will almost certainly destroy any germs that may be present on the sponge.”
But wait! Don’t put your filthy sponge on the microwave tray and hit start; you’ll end up with a melted catastrophe and an irritated mood. Instead, follow these steps to keep your sponge looking brand new.
Step 1: Make a soapy water solution. First, combine a few squirts of mild soap (dish soap or baby shampoo will suffice) with water in a microwave-safe cup. Make sure there’s enough soapy solution to fully cover your sponges.
Step 2: Wet the sponge. Pre-wet the sponge by giving it a few squeezes in the prepared soapy water cup. Submerge it completely in the cup once you’ve pre-wet it.
Step 3: Zap it. Microwave the cup for a minute, allowing at least 30 seconds for the water to cool before removing it from the microwave. The suds will have turned into liquid cosmetic residue, and your filthy sponge will seem brand-new.
Step 4: Squeeze water out. Allow the sponge to dry after rinsing it and wringing out any water under cold water.
Conclusion
I hope we have answered how to clean beauty blender in this blog.
Remember! Cleaning your makeup brushes or beauty blender is essential to avoid infection and breakouts. It’s important to maintain healthy skin by cleansing your beauty blender as often as possible.
To clean a beauty blender, you can follow the microwaving method we provided in this article. This will destroy any germs that may be present on the sponge and keep it looking brand new!

